ディープフェイク【roop-ReActor編】:1枚の画像から動画の顔スワップ
roop本家
インストール元:https://github.com/s0md3v/roop
GitHub - s0md3v/roop · GitHub
Contribute to s0md3v/roop development by creating an account on GitHub.
インストール方法:https://github.com/s0md3v/roop/wiki/1.-Installation
1. Installation · s0md3v/roop Wiki · GitHub
Contribute to s0md3v/roop development by creating an account on GitHub.
事前準備
事前セットアップ(Windows):https://github.com/s0md3v/roop/wiki/1.3-Setup-Windows
1.3 Setup Windows · s0md3v/roop Wiki · GitHub
Contribute to s0md3v/roop development by creating an account on GitHub.
Python
winget install -e --id Python.Python.3.10PIP
python -m ensurepipGIT
winget install -e --id Git.GitFFmpeg
winget install -e --id Gyan.FFmpegReboot your system in order for FFmpeg to function properly.
shutdown /rToolset
Microsoft Visual C++ 2015 Redistributable
winget install -e --id Microsoft.VCRedist.2015+.x64Microsoft Visual Studio 2022 build tools
During installation, ensure to select the Desktop Development with C++ package.
winget install -e --id Microsoft.VisualStudio.2022.BuildTools --override "--wait --add Microsoft.VisualStudio.Workload.NativeDesktop --includeRecommended"roop-ReActor構築
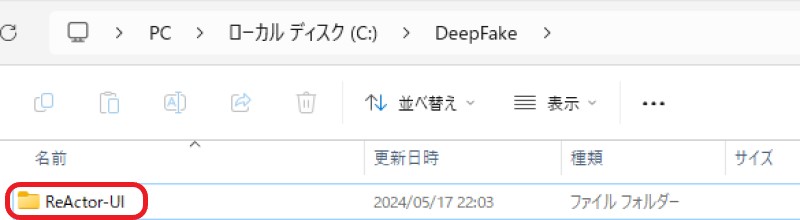
Cドライブに新規「DeepFake」フォルダを作成

コマンドプロンプトで、C:\DeepFake に移動(※管理者で起動)

コマンドを実行
git clone https://github.com/Gourieff/ReActor-UI.git
C:\DeepFake に「ReActor-UI」フォルダが生成されています。
コマンドプロンプトで、C:\DeepFake\ReActor-UI に移動
コマンドを実行
pip install -r requirements.txt
C:\DeepFake\ReActor-UIフォルダ内にデータが生成されています。

アクセラレーション(加速装置)
CUDA (Nvidia):https://github.com/s0md3v/roop/wiki/2.-Acceleration
2. Acceleration · s0md3v/roop Wiki · GitHub
Contribute to s0md3v/roop development by creating an account on GitHub.
- Install CUDA Toolkit 11.8 and cuDNN for Cuda 11.x
- Install dependencies:
pip uninstall onnxruntime onnxruntime-gpu
pip install onnxruntime-gpu==1.15.1- Usage in case the provider is available:
python run.py --execution-provider cudarun.py にて、roop-ReActorが起動します

オプション:run.py
python run.py [options]

options:
  -h, --help            show this help message and exit
  -s SOURCE_PATH, --source SOURCE_PATH
                        select an source image
  -t TARGET_PATH, --target TARGET_PATH
                        select an target image or video
  -o OUTPUT_PATH, --output OUTPUT_PATH
                        select output file or directory
  --frame-processor {face_swapper,face_enhancer} [{face_swapper,face_enhancer} ...]
                        pipeline of frame processors
  --keep-fps            keep original fps
  --keep-audio          keep original audio
  --keep-frames         keep temporary frames
  --many-faces          process every face
  --video-encoder {libx264,libx265,libvpx-vp9}
                        adjust output video encoder
  --video-quality VIDEO_QUALITY
                        adjust output video quality
  --max-memory MAX_MEMORY
                        maximum amount of RAM in GB
  --execution-provider {cpu,...} [{cpu,...} ...]
                        execution provider
  --execution-threads EXECUTION_THREADS
                        number of execution threads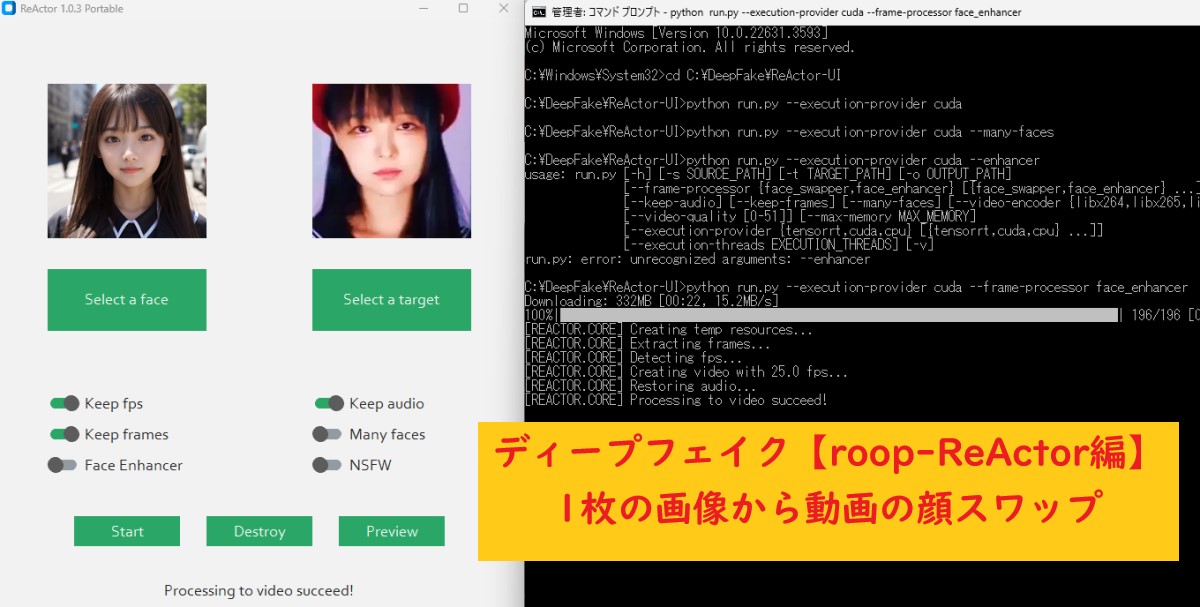
-v, --version show program's version number and exitroop–ReActor実行
Select face:対象となる画像

Select target:対象とする動画
「Start」ボタンで生成を開始します。

実行結果
起動バッチファイル
roop_setup.bat を新規作成
python run.py --execution-provider cuda --max-memory 12 --keep-fps --keep-frames --many-faces
pauseC:\DeepFake\ReActor-UIフォルダ内にroop_setup.batを保存

roop_setup.bat をダブルクリックすることにより、roop-ReActorが起動できます!